After choosing your bike, next comes the most fun part.
Yes, now it's time to decide on your camping gear, your clothes and a pile of other things and set off on tour! There are of course lots of options for loading things onto the bike. Some prefer panniers, some a trailer, and some both panniers and a trailer. There's no single right answer here; it's up to you to try different combinations and find the carrying method that suits you and your route. Once you've chosen the carrying method, you can create the most optimum list according to the length of your tour, where you're going, the weather conditions and your personal needs.
You can find the equipment list I prepared for tours of 5 days or more via the link. Now I'll briefly write to you about the things I took with me on the tour.EQUIPMENT
1. RACK
The first step is to decide on the rack and panniers at the same time. The investment for this part, which will carry your load all along the road, can be a bit high. Once you buy a quality rack, you won't need to do anything else about it for the rest of the tour. I say this because it happened to me: during the tour it's worth checking the screws in the morning before setting off. Everything after this will be built on top of the rack. To avoid problems during the tour, my choice of rack was the Tubus Logo rear rack. It fits 28” bikes and has a 3-year mobile and a 30-year general warranty. The mobile warranty means that if you run into problems like a break or crack in the rack anywhere during the tour, a new rack is sent to where you are. What's more, it's made of 25CrMo4, that is medium-carbon steel; it weighs 780 g and has a carrying capacity of 40 kg.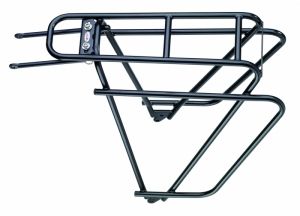
2. PANNIERS
This is the carrying system bike tourers use most widely. A pannier (bag) is a bag that hangs on and is fixed to the bike's rack and carries things inside. They can be fitted at the front and the back. Most panniers are made of long-lasting fabrics. Of course the price range for panniers is very wide too. I can list the advantages of panniers over trailers like this; When getting around the city an empty pannier is handy; it makes it easy to carry your everyday things and shopping bags. You can use one for food and kitchen gear and the other for clothes.Careful here: keeping the bags balanced is very important for your balance while riding. On flights you can use them as the normal checked bag you're entitled to and check in without paying extra.
They also keep you organised, as you arrange different bags for different categories of things. Most importantly, since there are no moving parts, you won't run into problems like loosening or flexing from small vibrations.
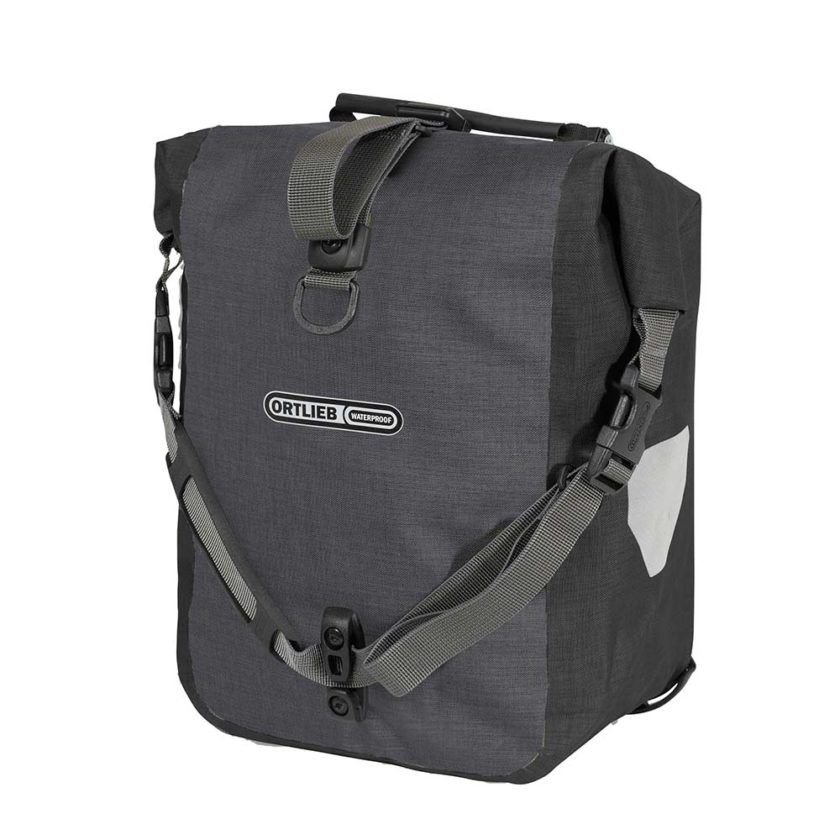
Here my choice was the rain- and mud-proof, easy to attach and remove Ortlieb Sport-Roller Plus bike pannier. My bag, which has a roll closure system, weighs 1440 grams and has a 25-litre capacity, and I used it during the 5-day tour without any trouble.
I can recommend that you don't use up all the volume of your panniers before starting the tour. You'll need extra space for food and souvenirs throughout your trip. The ideal is to leave 80%-90% empty space.
Besides panniers, I strongly recommend buying a handlebar bag. I realised a bit late that it's necessary, because I really felt its absence during the tour. I'm sure it'll be useful for carrying the wallet, passport, keys and camera that you must have with you during your tour. Most handlebar bags have a transparent pocket on top, and by putting a map there you can look at it easily while riding. Besides a handlebar bag, a frame bag can also be useful during the tour.
3. HELMET
It's one of the must-haves for a cyclist. I did a lot of research on this and decided that the best product on the market in terms of price/performance was at Tchibo.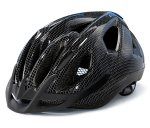
4. GLOVES
Even if they're not needed for short distances, they're a must-have for those setting off on a long road. Remember, even any bike glove, together with the grips, is the first measure you can take against fatigue in your arm muscles.5. BUFF
You can read my earlier post on this via the link.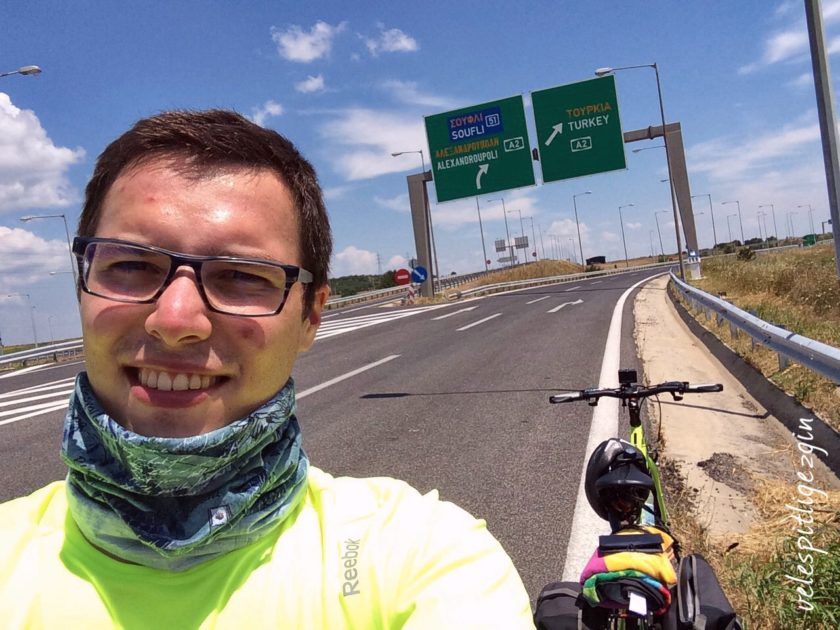
6. PUMP
It's worth your bike pump fitting both wide and narrow valves.7. TENT
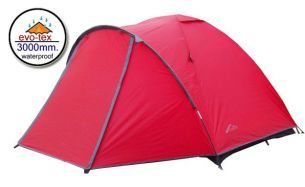
The best part of long tours must be camping. Naturally the tent is one of the most important needs, and there are very different options for it. Here, choosing a camping tent according to your needs is one of the most important milestones. In short, the things to keep in mind are these;- Number of people staying
- Climate conditions
- Ease of use
- Weight
- Ventilation
- Extra features
- Floor material
- Price
8. SLEEPING BAG
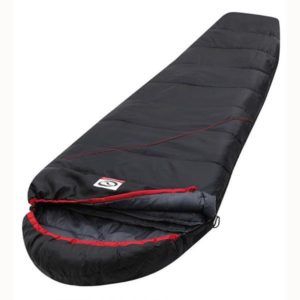
The sleeping bag, usually carried on the rear rack, lets you sleep comfortably in the evening after a long and tiring bike ride. Many sleeping bags on the market are designed and made to be light, to take up minimum space and to be easily carried in your backpack. made to be suitable for carrying. Leaving weight aside, when choosing a sleeping bag you need to pay attention to the comfort conditions and insulation features. Here my choice was the Loap Boston sleeping bag. It weighs 1200 grams and its limit temperature is 2°C.
9. MAT
Whether it's goose down or synthetic, when you get into the sleeping bag to sleep you'll need an insulating material to cut the cold coming from below and not get cold. The general name of this material is a MAT. They have thicknesses that vary by type, and as these thicknesses increase, the insulation will increase in direct proportion. Here you need to choose the mat that suits you best by looking at the criteria of thickness, thermal properties and weight. My choice was the 12 mm Evolite Pro mat, but by increasing the budget you could buy the self-inflating insulation mat at Tchibo. It weighs 1400 grams and is very resistant to damp and cold ground.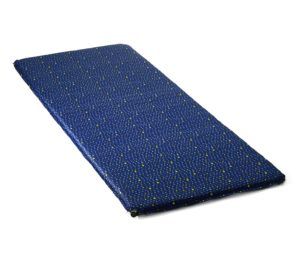
10. INFLATABLE PILLOW
When setting off on tour, instead of making a pillow out of your things, it's worth buying an easily inflatable pillow for 5-10 lira. In this post I've talked in general about the big bike gear. As the trip requires, you'll of course take lots of tiny things with you too. Organising the medicines, sunscreen and other hygiene items you must take with you is also among the things not to forget on a tour like this. After that comes an enjoyable ride worth all that preparation, lots of friends and memories. And lots of photos, I say, closing with a photo from my last trip: so I should write a post on choosing a camera soon 😀 Happy reading!